Materials Used
- Pro Extreme High Bond (EHB) ½â€
- Pro® Duct 120 ¼†black
- X-ACTO® blade
- Scissors
- Silicone sheet
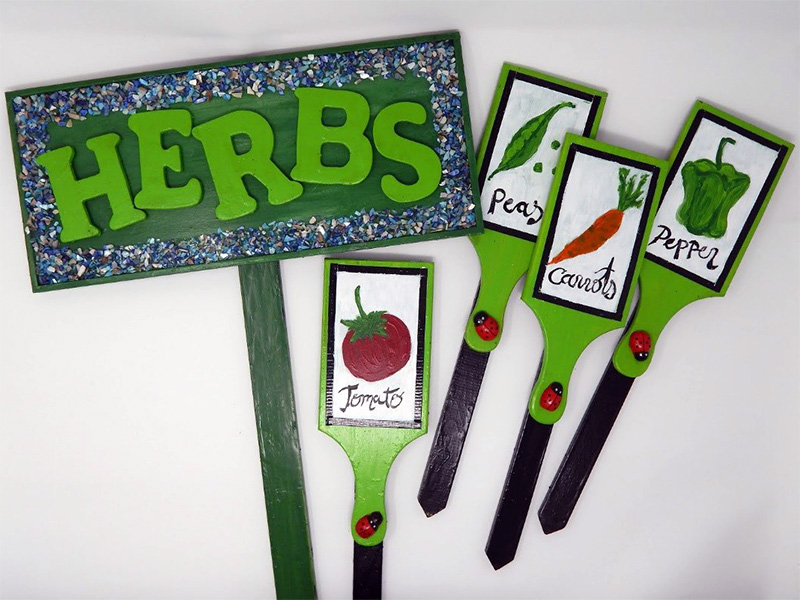
This summer my family and I have been working on building and growing a garden from scratch! While my husband did the prep work for the garden, the kids and I set off to buy some seeds. And we pretty much bought one of everything! So, that got me thinking we better label everything we planted!
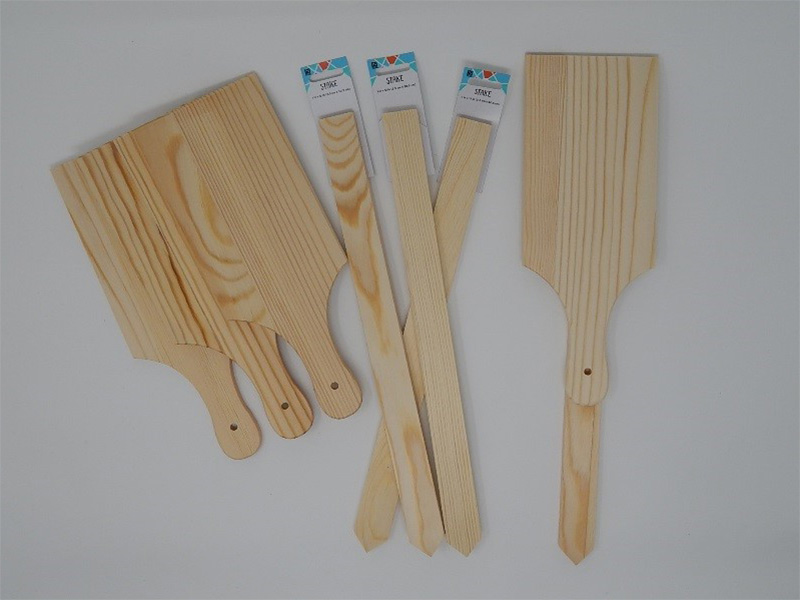
We set off to the craft store and found a wooden sign, letters, paddles, and stakes that can all be put together with Pro’s extra high bond tape. No nails, screws, drilling….Yadda yadda, just tape! Which allowed me to keep the kids involved with this project safely from start to finish. EHB is both permanent and weatherproof so I know it will hold. To take it a step further, we grabbed some extra embellishments for our signs, keep reading to find out more!
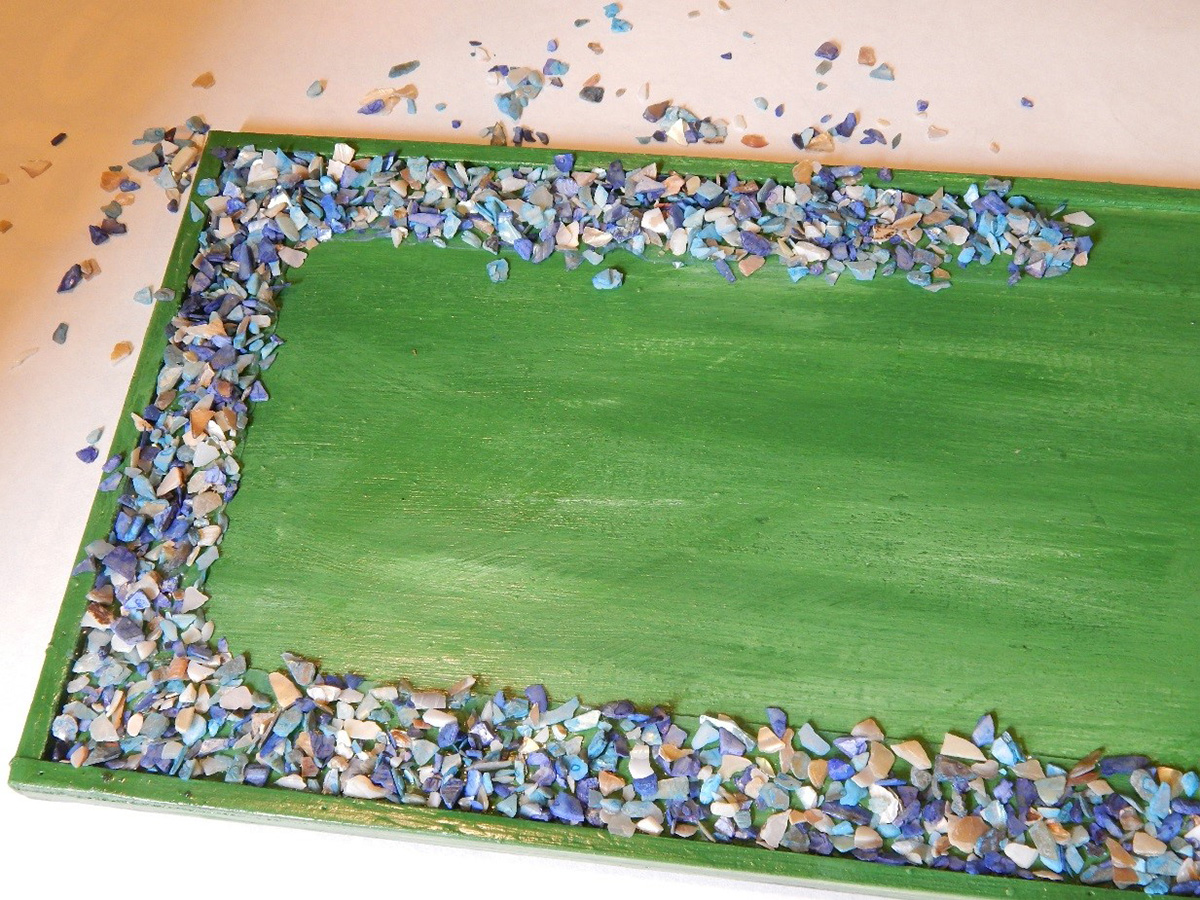
First, we painted and polyurethaned the wooden parts and let everything dry real well. Once everything was dry (24hours), I added a ½’ EHB tape as a border around the frame of the larger wooden sign. You can see in the photos EHB has a red backing, it easily peels off (my sons’ favorite part!) once you pull off the backing you have a SUPER sticky double sided tape. Here we sprinkled on a decorative tiny blue stone gravel. Which added a fun pop of color. We pressed the gravel in and around to make sure it got in all the “nooks and crannies.†and flipped the sign over to shake off any excess. EHB is clear and a little glossy, so it was a bit tricky to photograph… here the before and after of how well the gravel stuck. No hot glue burns or long dry times here! Tape, sprinkle, and done!
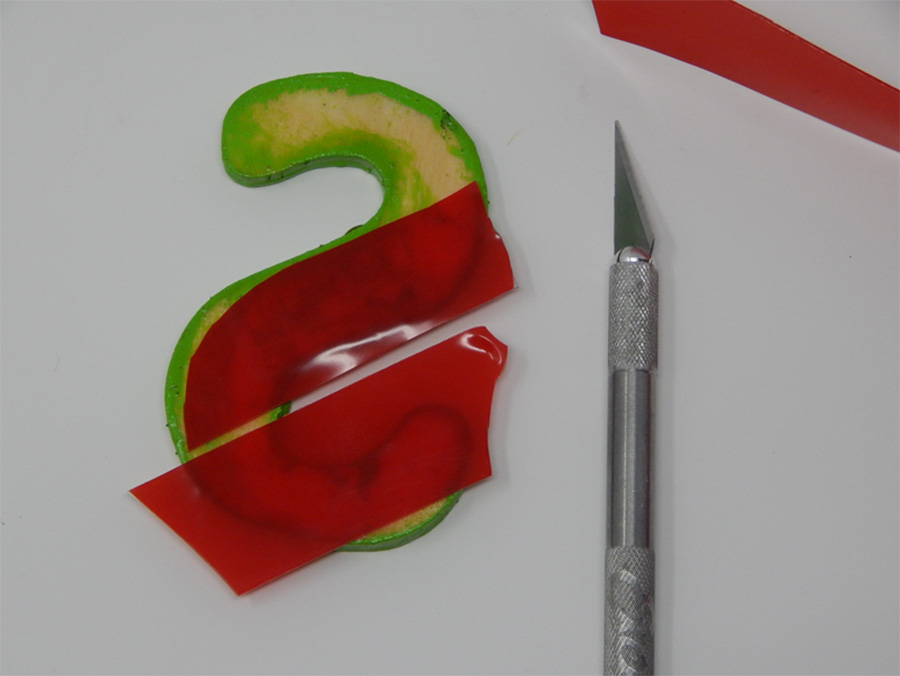
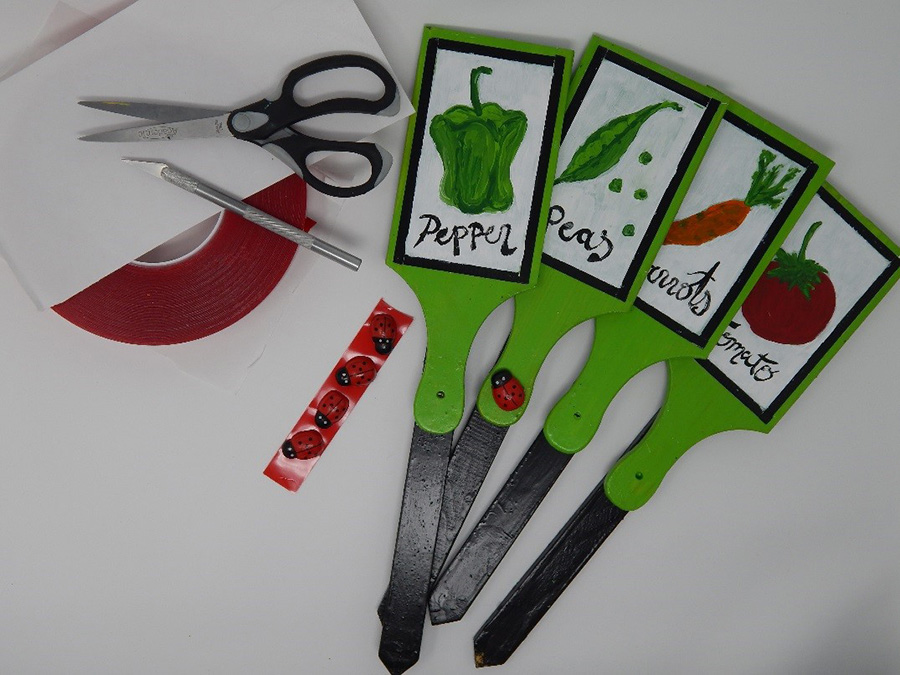
For the letters I used an X-ACTOÂ blade to cut a more precise outline. The red silicone backing is a bit transparent, so you can easily see where you need to cut. This made it so easy to make the custom cuts I needed for each letter. Finally, one strip of EHB down the stake and done! Even with the extra weight of gravel on the top, the sign feels really secure! I love that EHB is water/weather safe so I can leave this outside and not have to worry about rusty nails or anything seeping into our garden!
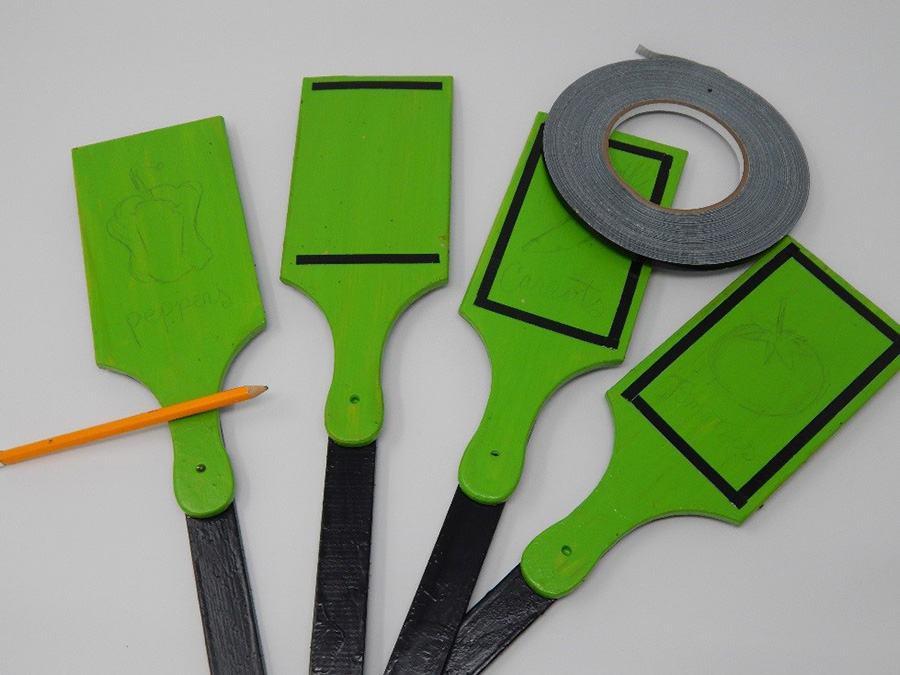
We also made veggie signs to mark where we planted the various seeds. The wood we selected was again from the craft store, there are many wooden shapes you can pick from. I chose these little paddle ones because I wanted to have room to customize each. First, we painted and polyurethaned the wood and let them dry as mentioned earlier.
Then I used Pro® Duct 120 ¼’ Black to frame out and mask an area for the hand painted label. Pro® Duct is weather safe too, so I actually decided to leave it on as a framed border. You could even use Pro® Duct’s variety of colors to simply color code your garden if you don’t want to hand paint or label each one. Lastly, to cover that little hole in the hand of the paddle I was able to cut the EHB down to size and shape and let the kids stick it right on! Again, no hot glue, drippy messes, or wait time.
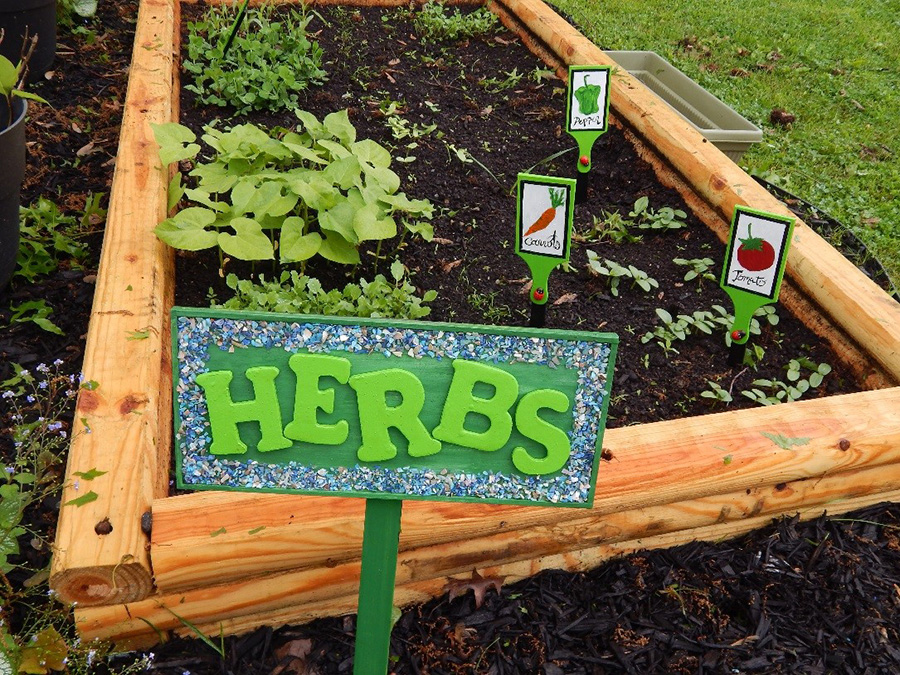
Our signs have been out since we planted our seeds a few weeks ago, and you can see how well even on this rainy summer day they look.
Swing Radiator,Power Transformer Swing Radiator,Swing Type Radiator,Distribution Transformer Swing Radiator
Shenyang Tiantong Electricity Co., Ltd. , https://www.ttradiator.com
