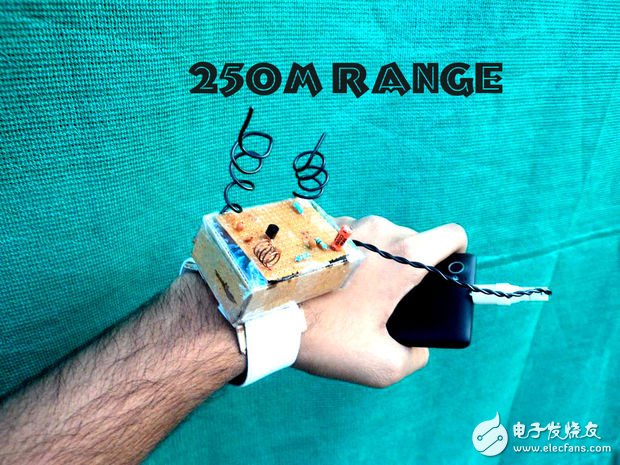
In this article, you will be taught to make a device that is often used in everyday life: a wearable FM transmitter. The reason for the production was very accidental. One day I found that the old radio in the closet was covered with dust. I thought: Why not use it to make a daily use? This old radio has no input and I need to buy another speaker. This is also the cheapest and most perfect way to transform. It can be used in the surrounding 250 meters. The radio used here has a frequency range of 97.8-98.8 Hz.
note:
The specific distance limit will be indicated on your radio (instead of the smartphone's radio function), and some types of radios may even extend the length to around 320-350 meters.
Features:
Long battery life
Long distance
3. Wearable
4. Can connect with a smartphone
5. Can listen to clear sounds
6. Compatible with any device equipped with 3.5 mm jack output
7. Easy to install and easy to install
STEP1: Required components
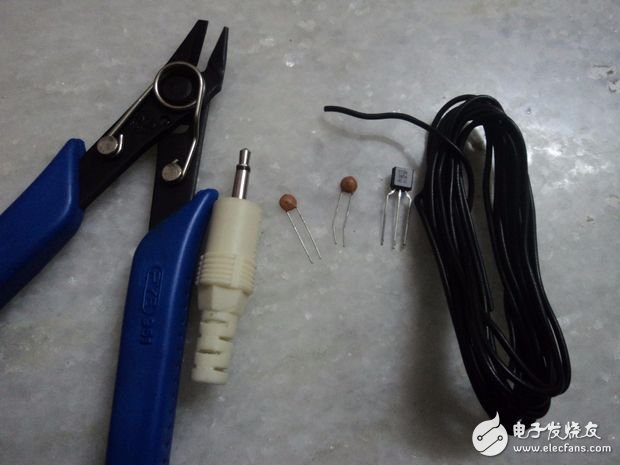
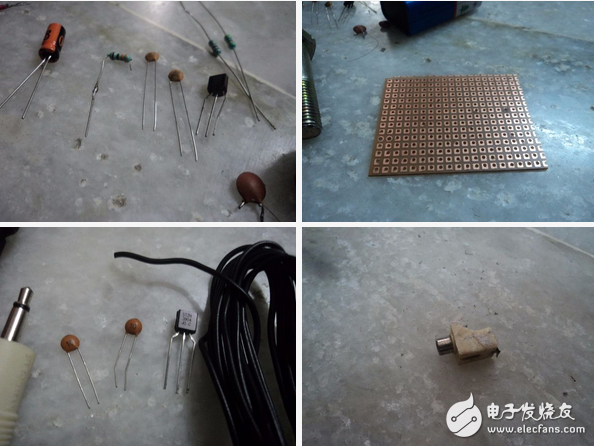
2 10pf capacitors
2n3904 type triode
Mono audio pin 3.5 mm
10 UF electrolytic capacitor (minimum 16 V)
2 0.01uf ceramic capacitors
3.5 mm pin socket (optional)
Standard solid copper wire No. 18-22
Solderable circuit board
9V battery
10KΩ resistor
27KΩ resistor
470Ω resistor
Several wires
Solder
9V battery connector
tool:
tweezers
Electric iron
scissors
Hot glue gun
This article is selected from the electronic enthusiast "Smart Medical Special", more quality content, download now

STEP2: Place components on the board according to the schematic diagram
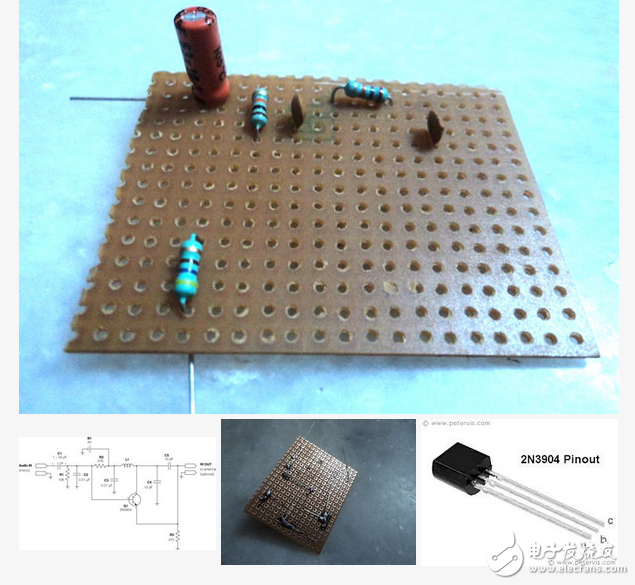
The soldered circuit board may not be as fragile as it is, but there is absolutely no resistance to the printed board. Please position the figure components correctly according to the schematic shown above. Pay attention to the polarity of the capacitor here: the negative terminal is the pin for the audio, and the positive terminal is the resistor. Note: When the components are placed, some gaps should be left in the middle. For the first time, the welder should draw a large distance to prevent the possibility of welding errors. Place the transistor 2N3904 more attention should be paid to the polarity of the pins.
Next, you can start soldering. After soldering, remember to cut off the excess pins with tweezers.
STEP3: Making a coil
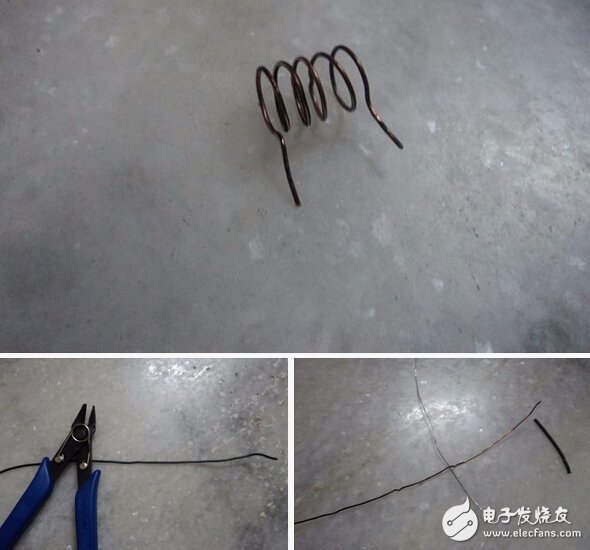
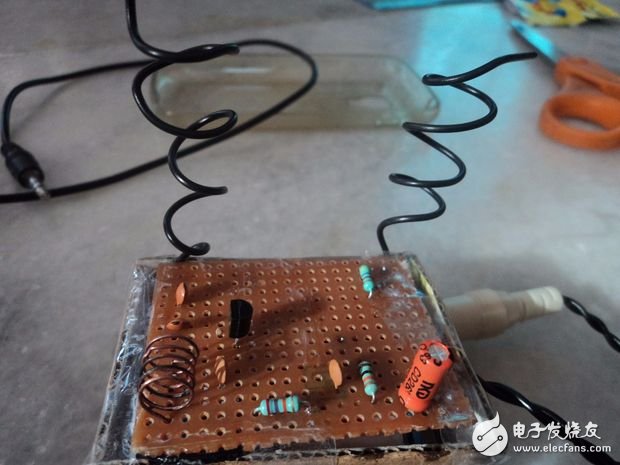
Take about 6mm bolts and carefully wrap the 18-22 line. Hit 4-5 circles, do not circle at the bottom, cut off the excess wires. Make the coil as shown above, and it should be consistent with the above figure when finished. Preference is given to the stripped wires rather than the insulated wires. In this way, the coil is completed.
Step 4: Connect the wires to the 3.5 mm plug
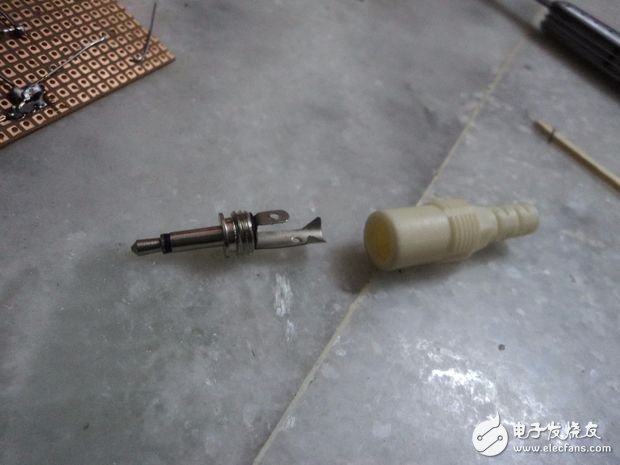
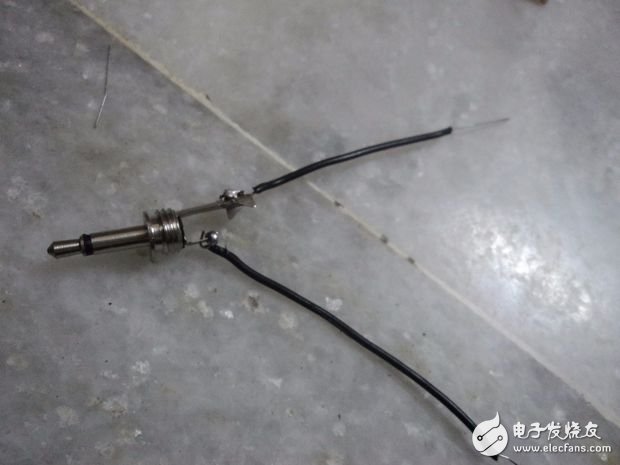
Open the plug cap æª, insert the two wires and solder them to the pins of the plug. The smaller pins are connected to the negative pole of the capacitor and the other pin is grounded. Tighten the cover after welding and determine the length of the line according to your choice.
Step 5: Board soldering
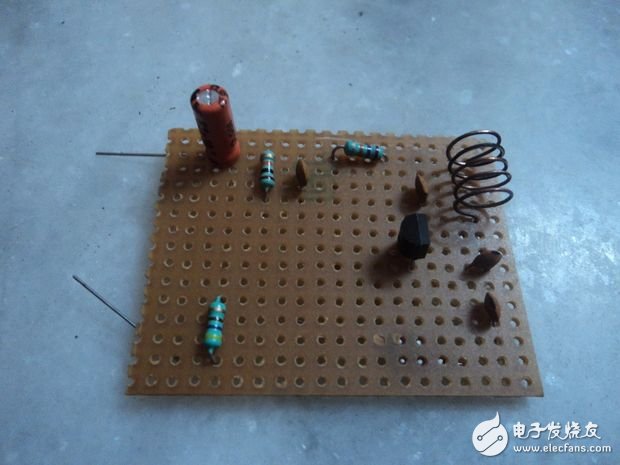
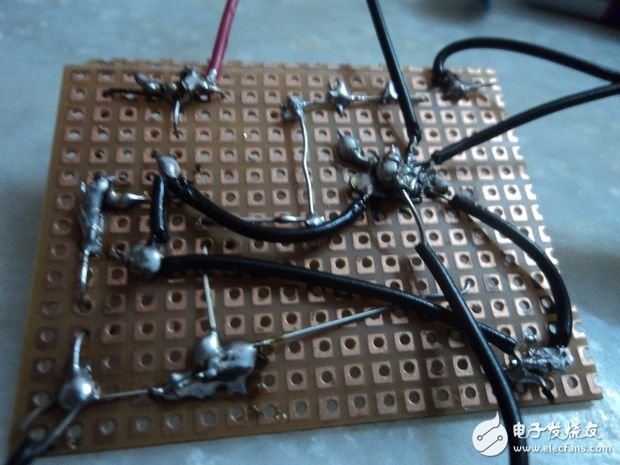
Solder the audio plug to the appropriate position and then bring all ground terminals together to ground. Make sure that the ground terminal is not connected to the positive terminal of the component. In the figure above, the ground terminals are all indicated by black lines. Finally, make sure that the ends of the soldered battery connector are placed at the appropriate distances on the board.
Step 6: Check / Debug
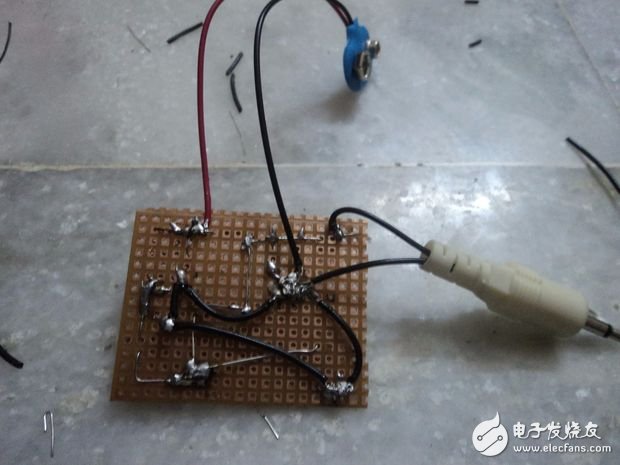
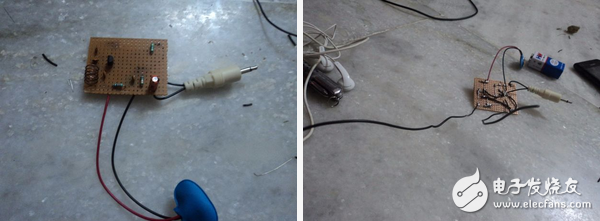
After soldering all the devices, plug the interface into the phone (the phone used by default has a radio function). Open any identifiable channel and connect the other end to the battery. Connect the headset to another phone or use any radio to find the channel and adjust to the frequency when you feel the sound is clearest. This is also the most appropriate time for the transmitter to send a signal. The most suitable frequency for this one is 98.4Mhz. Sometimes it is in the 97.8-98.8Mhz range. To increase the frequency range, you can add two antennas to the circuit, but make sure that it does not affect the rest of the circuit.
Step 7: Make the shell
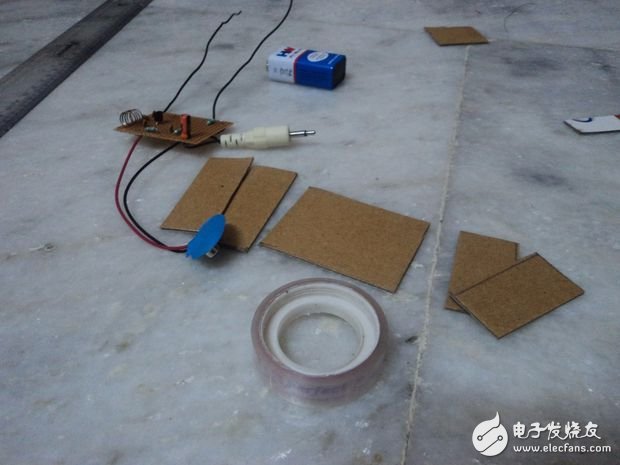
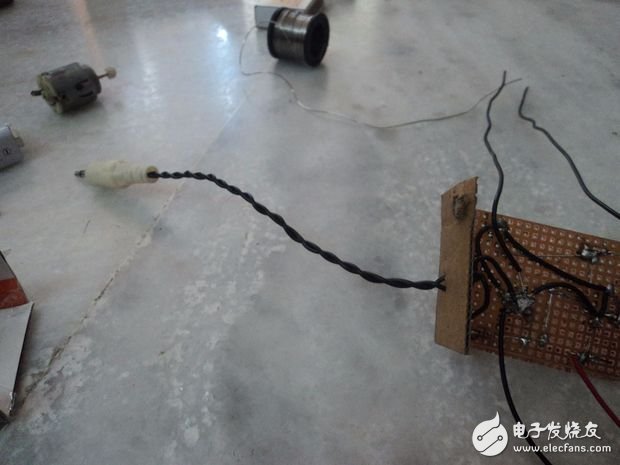
Use a cloth tape, cardboard and other tools to make a protective cover for the transmitter. Be careful to leave some space for the switches, wires, and audio inputs.
Step 8: Leave space for the audio plug!
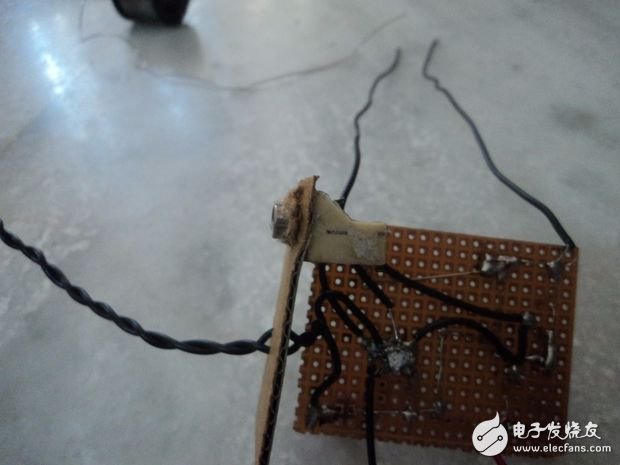
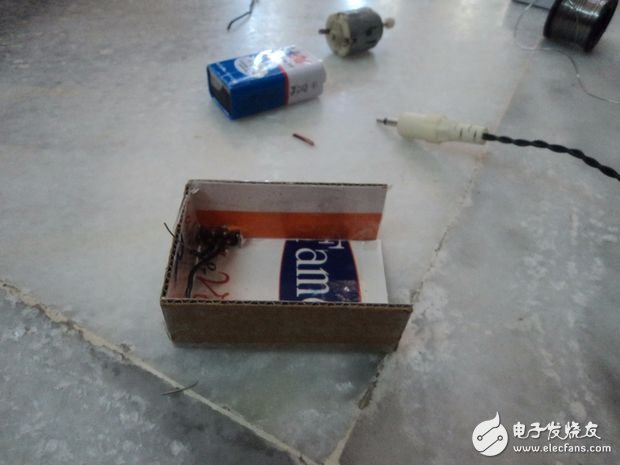
Take the 3.5mm headphone jack port and add it to the same side audio plug. You don't need to connect the port pins, it's just a redundant plug, making the device more convenient and preventing the portable wires from getting messy. It is also possible to increase the length of the interface wires and tangled the wires together to make them look more compact.
Step 9: Making a strap
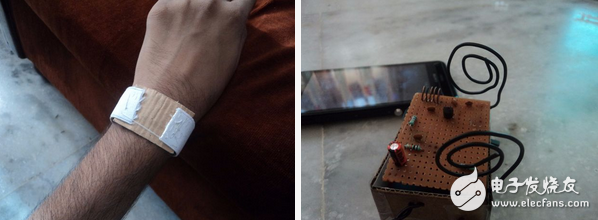
The strap can be made of any material, as long as it suits you. I use elastic materials, and the advantage is that it fits anyone's hand and is therefore suitable for everyone. You can find these related videos on how to make a strap on the Internet.
Step 10: The production is complete!
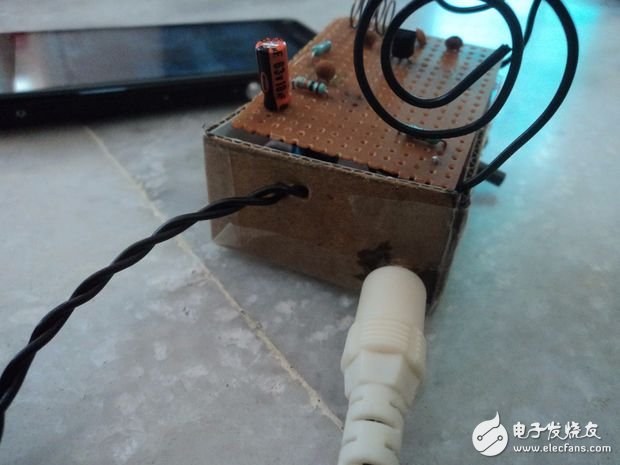
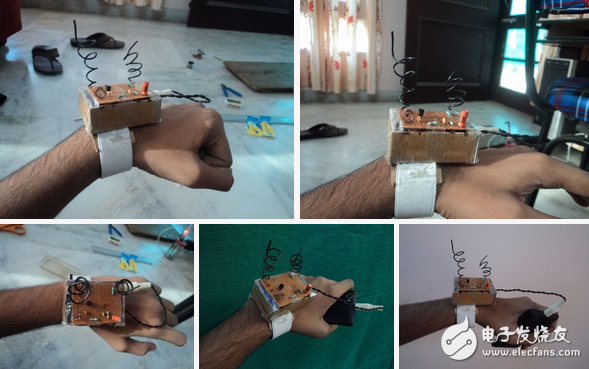
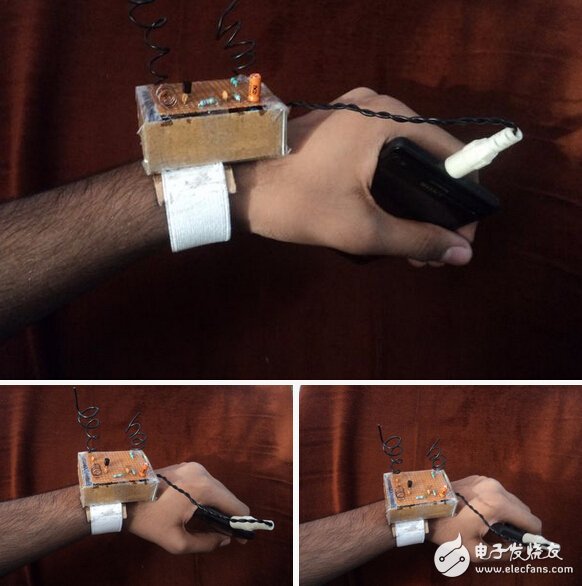
This is a production that requires a hard work. It not only reduces the expenses in general, but also reminds us of how to make a radio. For users who like to use the radio to transmit information, it is definitely a supreme device. By the way, this production effectively reduces noise pollution.
ZGAR AZ Vape Pods 5.0
ZGAR electronic cigarette uses high-tech R&D, food grade disposable pod device and high-quality raw material. All package designs are Original IP. Our designer team is from Hong Kong. We have very high requirements for product quality, flavors taste and packaging design. The E-liquid is imported, materials are food grade, and assembly plant is medical-grade dust-free workshops.
From production to packaging, the whole system of tracking, efficient and orderly process, achieving daily efficient output. WEIKA pays attention to the details of each process control. The first class dust-free production workshop has passed the GMP food and drug production standard certification, ensuring quality and safety. We choose the products with a traceability system, which can not only effectively track and trace all kinds of data, but also ensure good product quality.
We offer best price, high quality Pods, Pods Touch Screen, Empty Pod System, Pod Vape, Disposable Pod device, E-cigar, Vape Pods to all over the world.
Much Better Vaping Experience!


ZGAR AZ Vape 5.0 Pods,ZGAR AZ Vape Pods 5.0,ZGAR AZ Vape Pods 5.0 Pod System Vape,ZGAR AZ Vape Pods 5.0 Disposable Pod Vape Systems
Zgar International (M) SDN BHD , https://www.zgarecigarette.com
